Setting Up Your First Filter
This guide will help you set up your first filter to find relevant jobs on Upwork and other freelanceplatforms.
Step 1: Create a New Filter
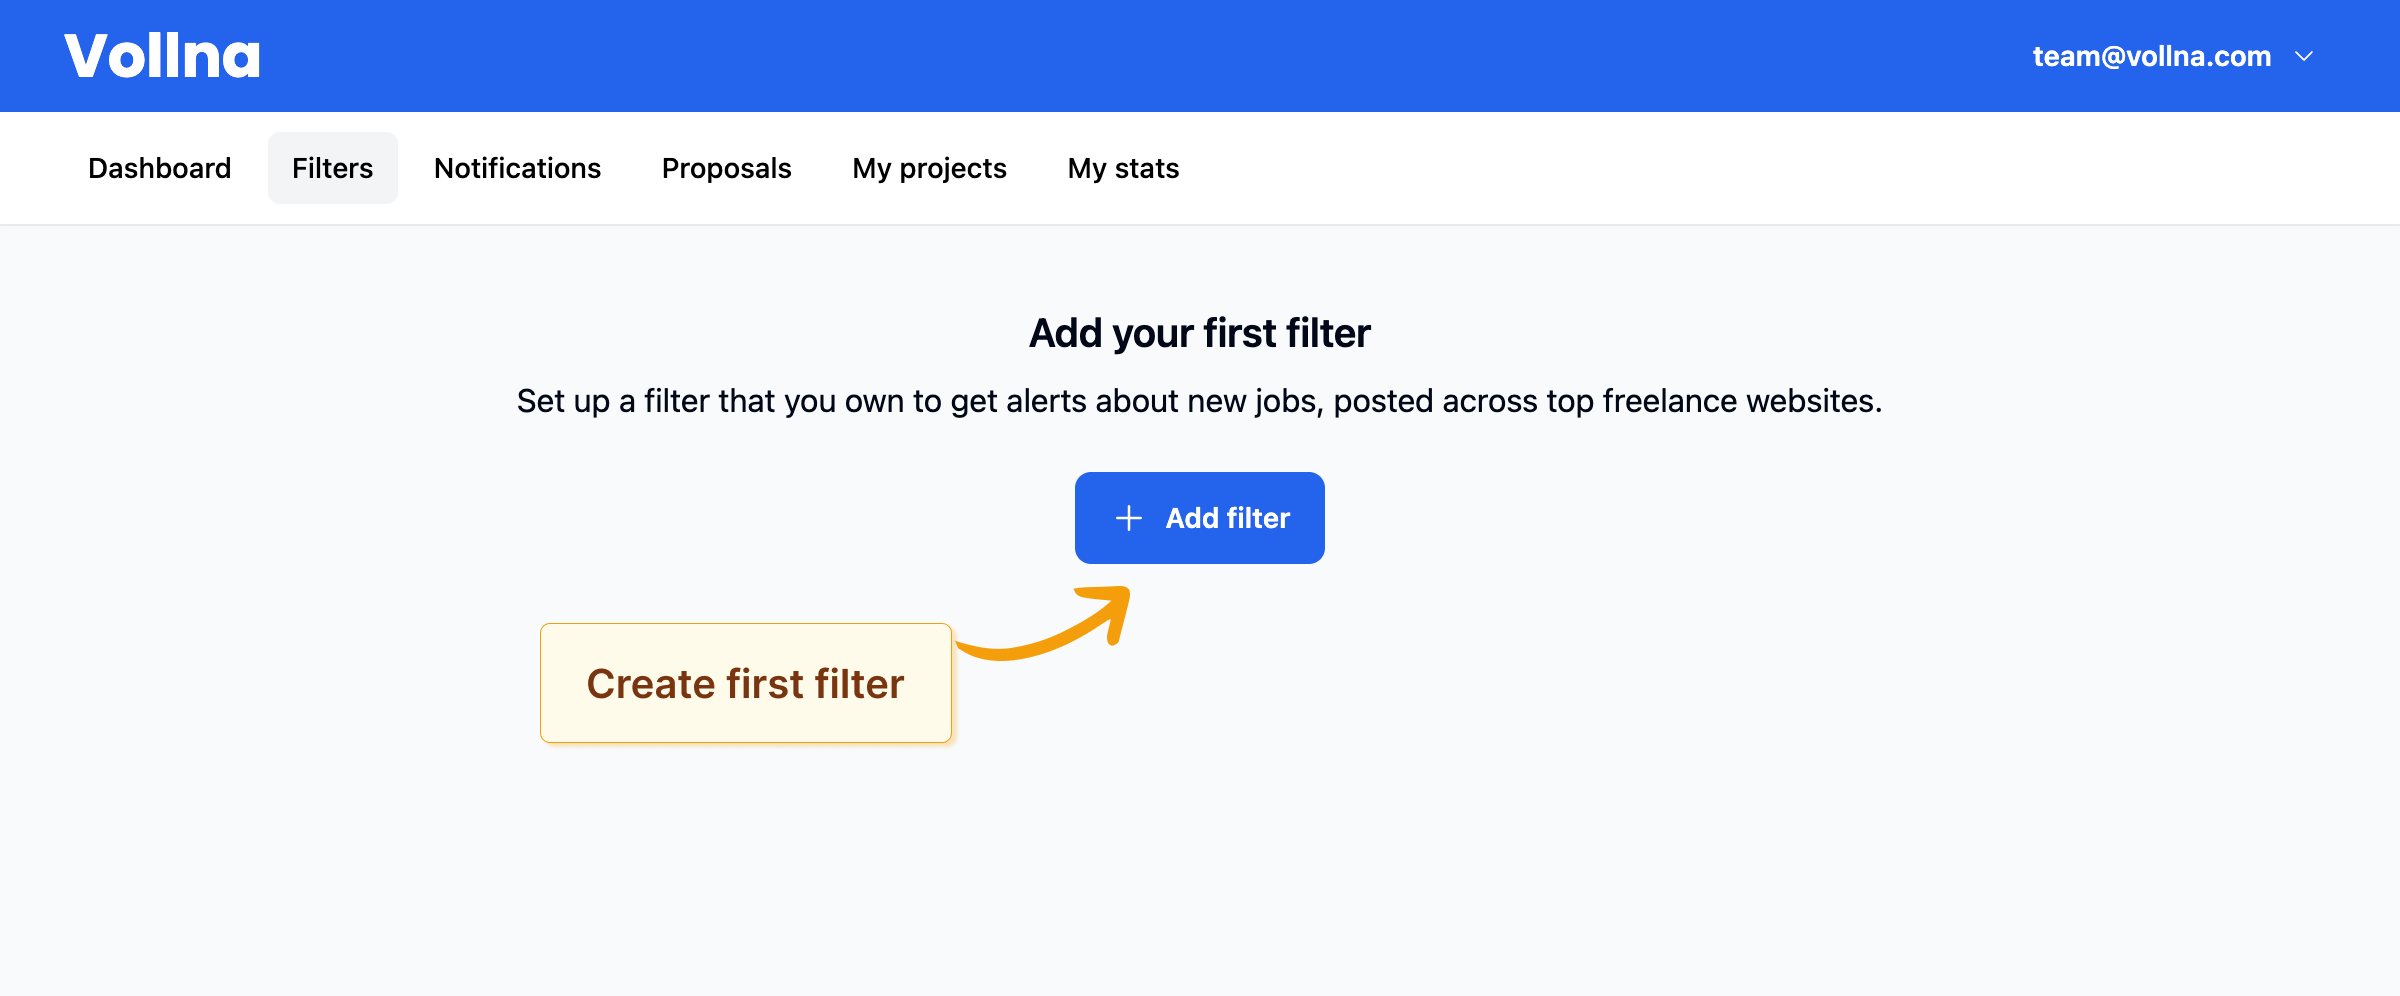
- Go to Dashboard in the main navigation menu > Filters.
- Click on Add filter button.

Step 2: Set Up Your Filter
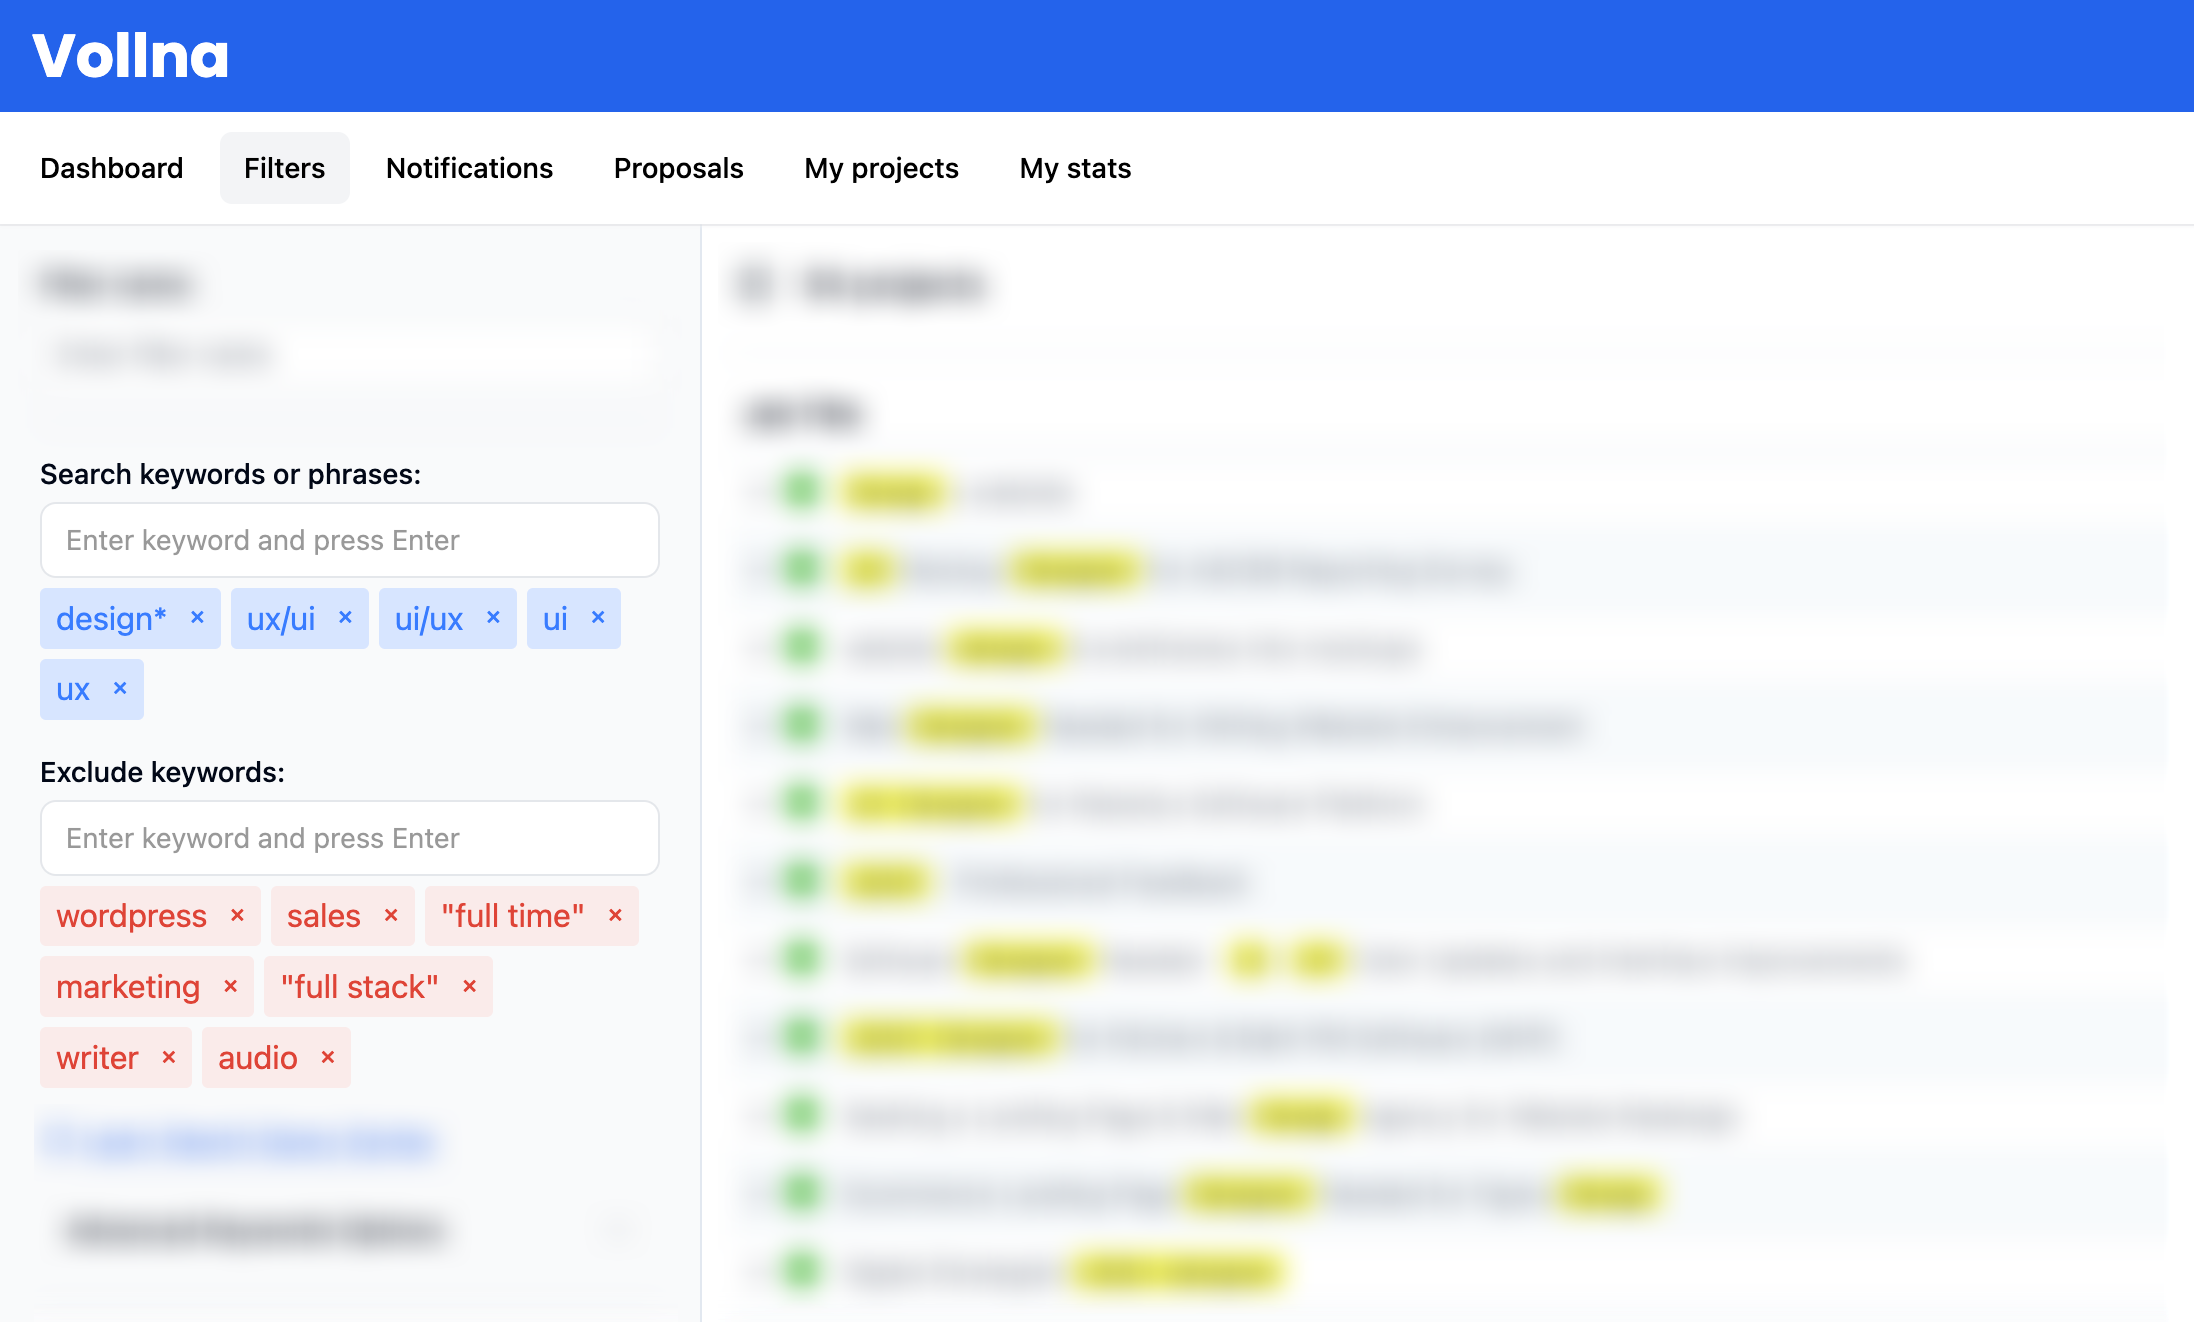
Enter search keywords
Search keywords are necessary for the Filter to seek relevant postings.
When multiple keywords are entered, for example logo, design, website, the search engine finds projects containing any of these words in the title, description, or skills.
To customize the search scope, use the checkboxes under ‘Advanced Keywords Options’ to enable/disable searching within title, description, or skills fields.
The more skills you enter, the narrower your pool of jobs will be. If you want to get as many jobs as possible, try creating multiple job searches for different skills.
Use exclude keywords
If search keywords alone don’t provide enough filtering and you see irrelevant projects, use the “Exclude keywords” field. This helps eliminate projects that don’t match your skills and makes your filter more specific.
For example, if you’re a logo designer but don’t work with 3D, you might:
- Add keywords:
logo,branding,design - Add exclude keywords:
3d,animation,video

Use exclude keywords with caution as this might filter out relevant projects that happen to mention excluded terms in passing.
Don’t use common words like “logo”, “design”, “branding” as exclude keywords, try to exclude by exact match using double quotes, e.g. "data entry specialist" instead of data, entry, specialist.
Learn Search Query Syntax
Learn more about Search Query Syntax and how to use it to create more specific filters.
Specify budget preferences
Enter your preferred minimum hourly rate and/or fixed budget.
If you enter hourly rate, but keep fixed budget empty, the Filter will search for jobs with hourly rate only and vice versa.
Use maximum hourly rate / fixed budget with caution. It will filter out jobs that have hourly rate / fixed budget higher than the specified value.
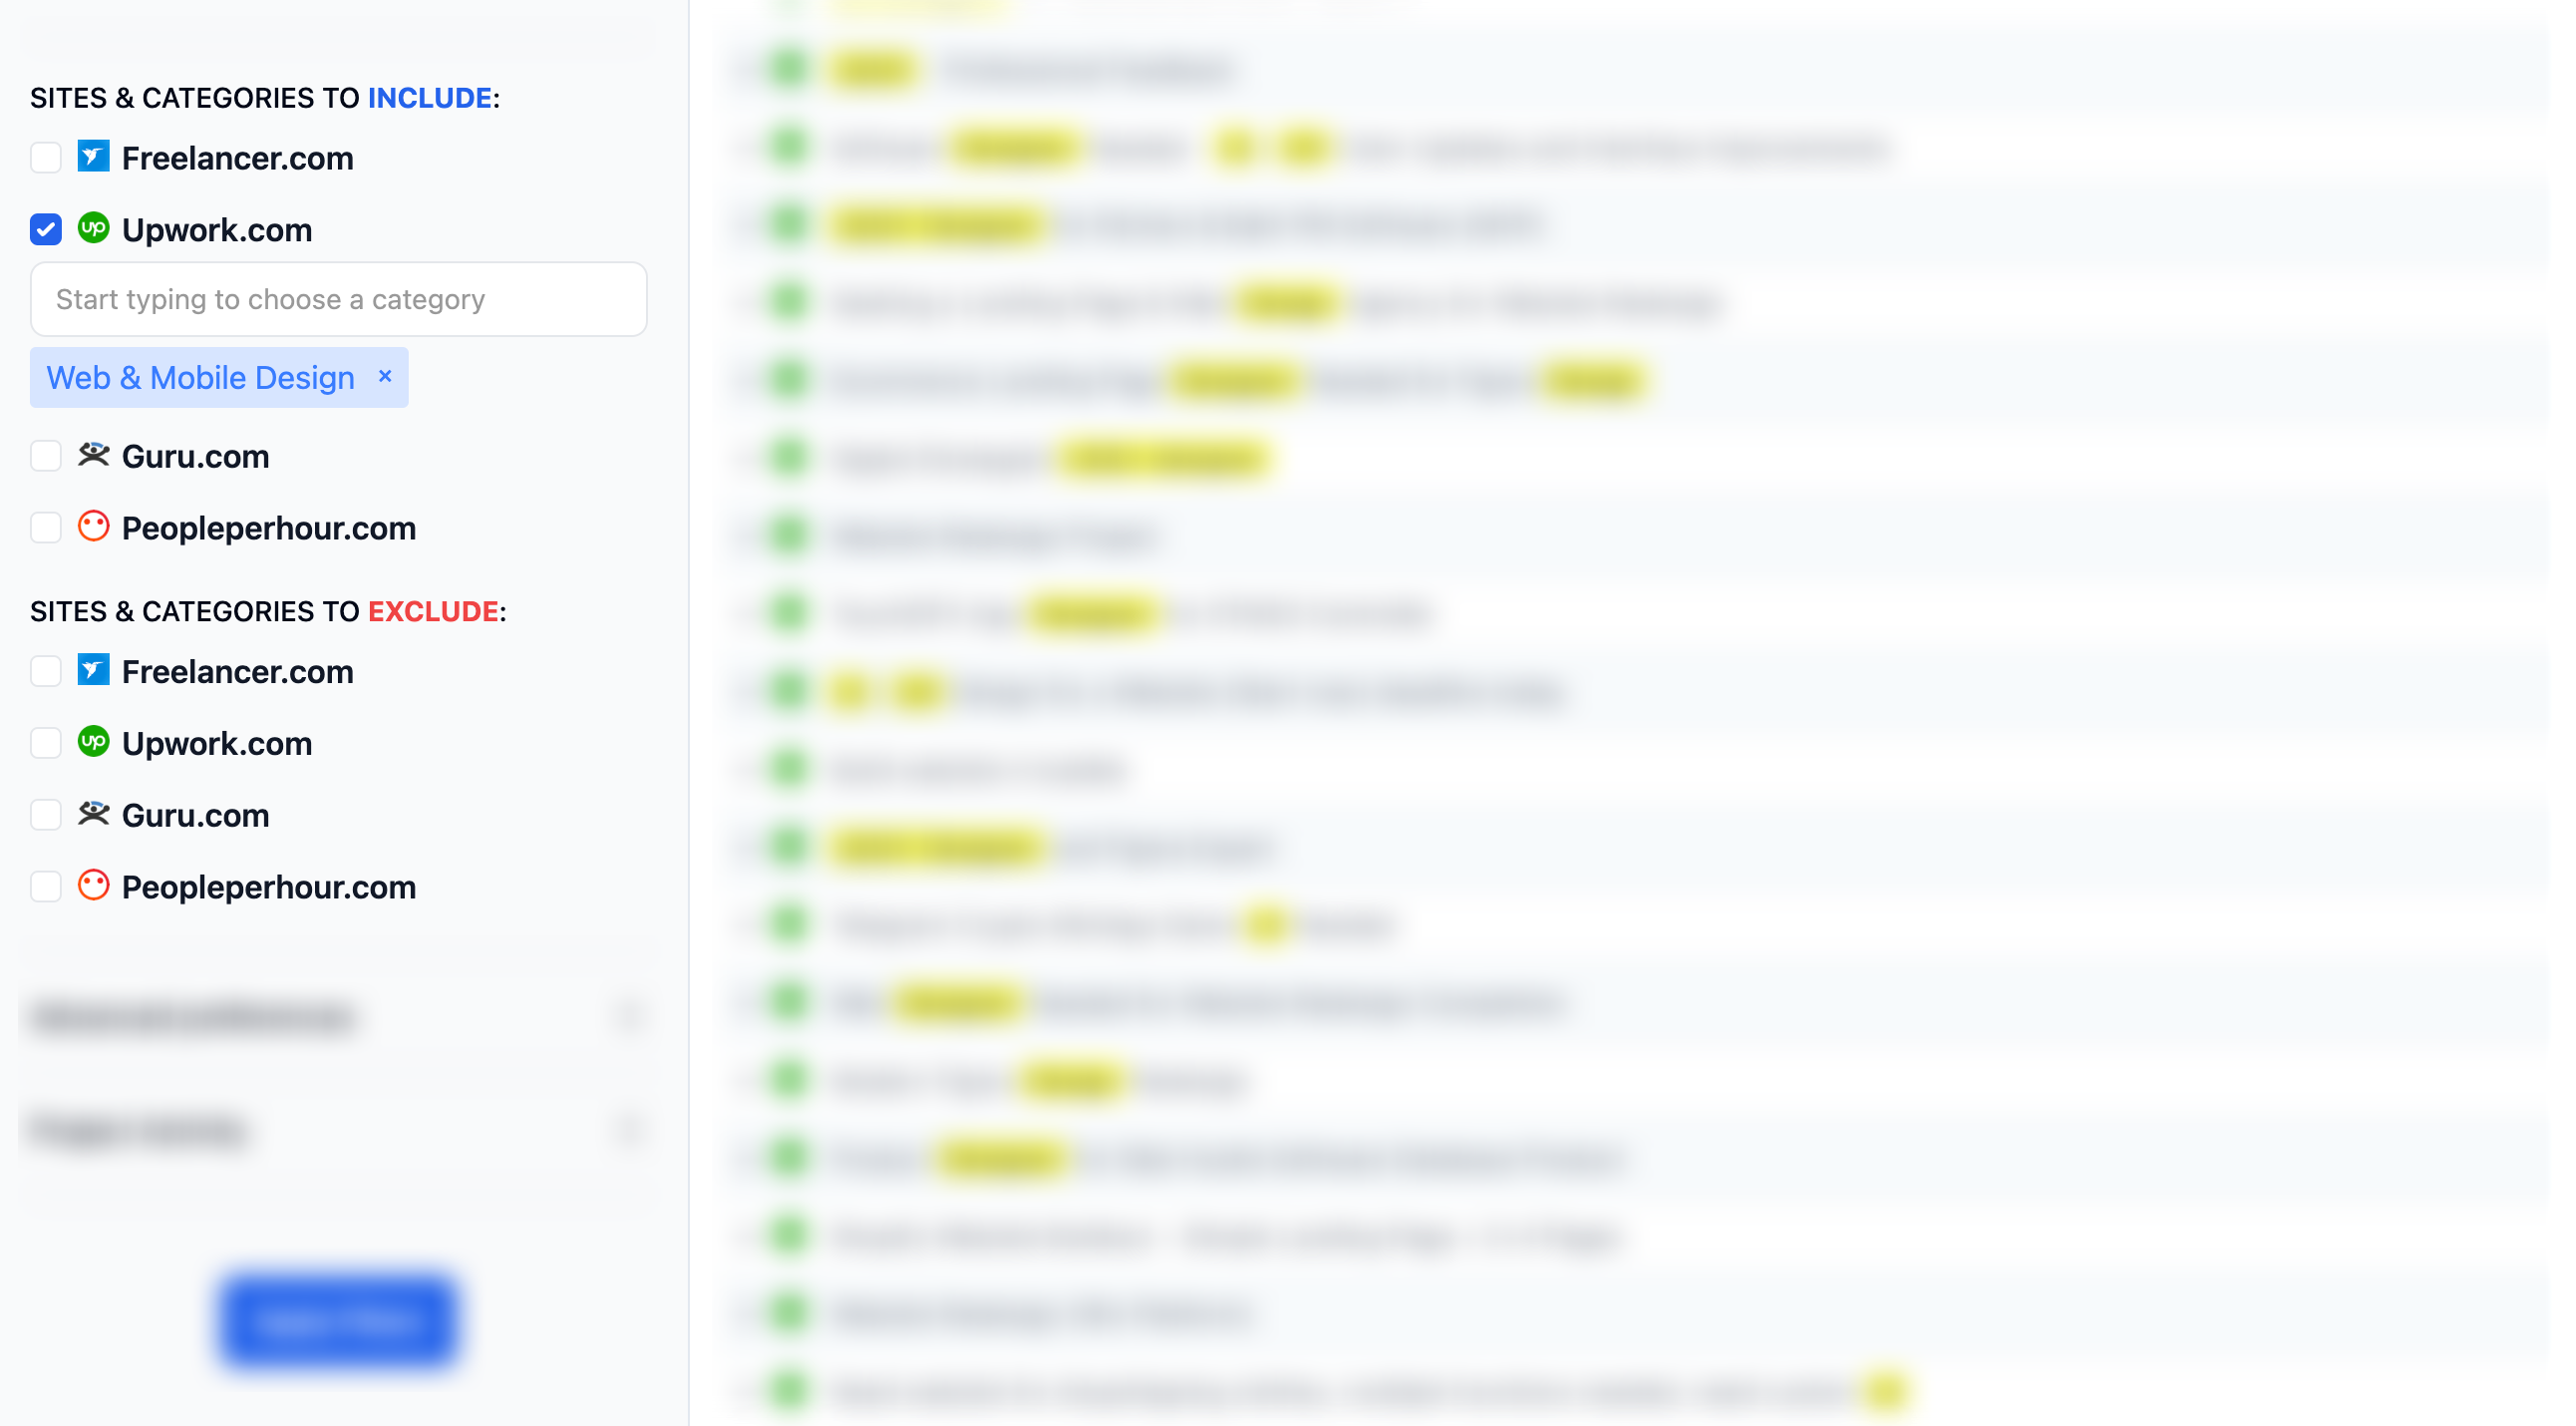
Filter sites & categories
By default, the Filter will search across all sites and categories. You can customize this by selecting specific sites and categories.

For advanced setup, read Mastering Fields
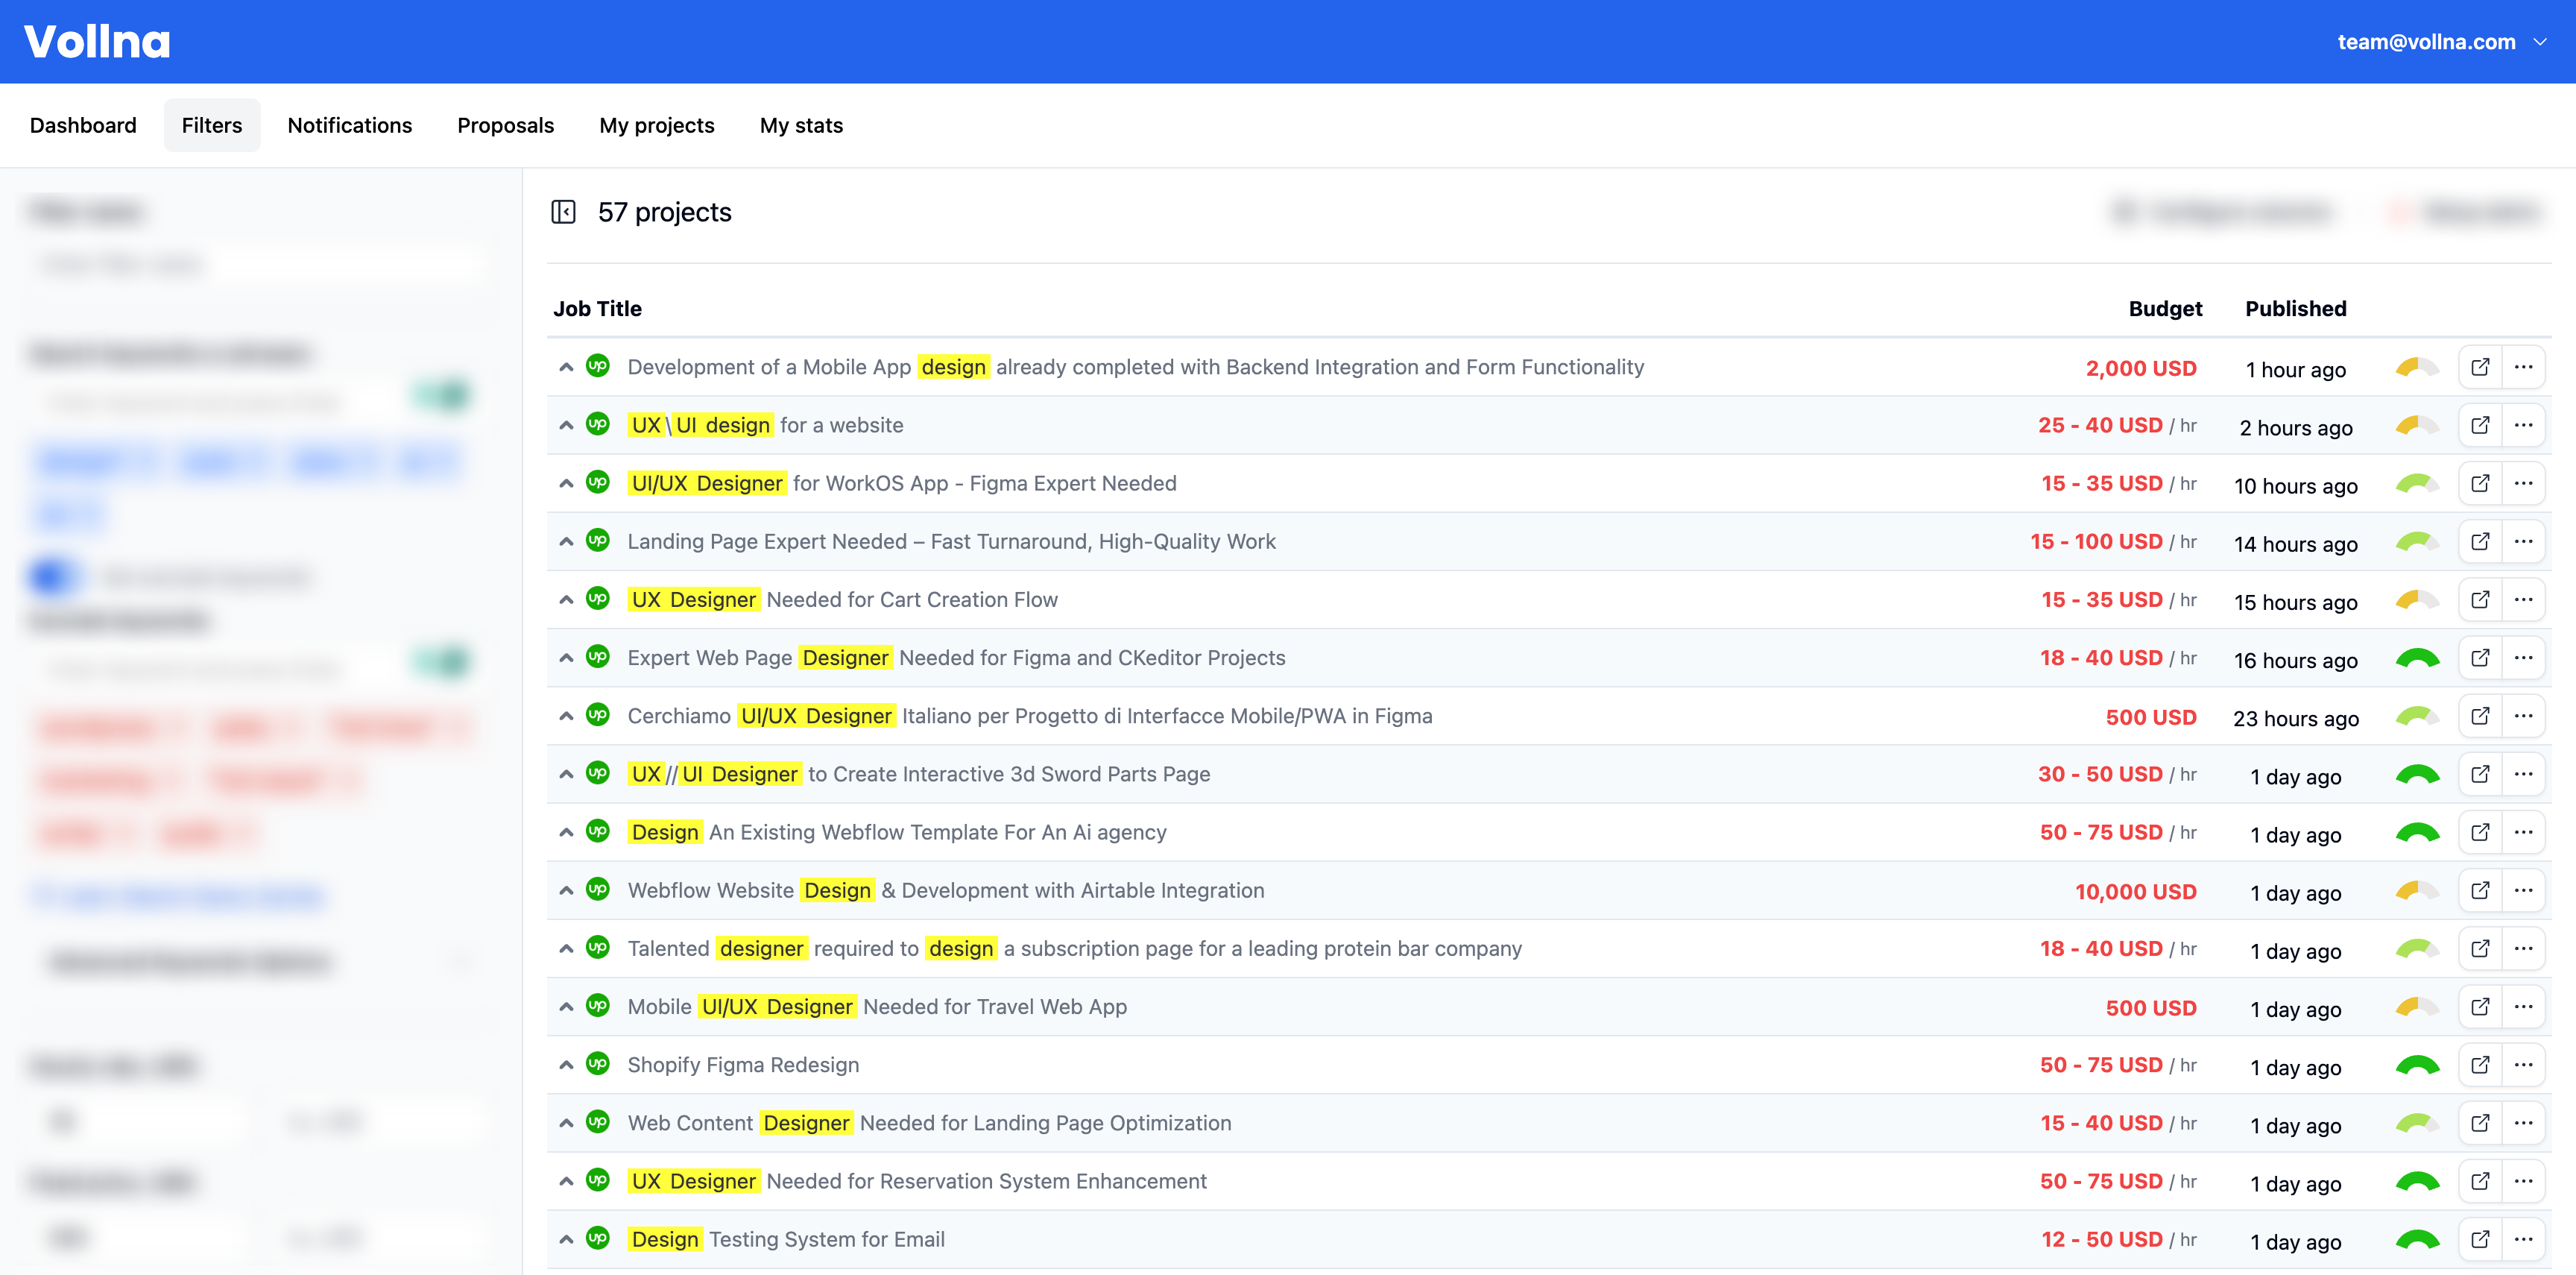
Step 3: Review your filter
After you’ve set up your filter, you can review it and make any necessary adjustments.

Step 4: Setup Notifications
Once you’ve set up your filter and satisfied with the results, you can setup notifications to receive job alerts as soon as new jobs are posted.
Read more about how to setup notifications

